Eagle Bond Philippines
Mobile# or Viber#:
• (0917)-574-7770
• (0939)-100-9645
• (0956)-162-0275
• LandLine (02) 8461-7187


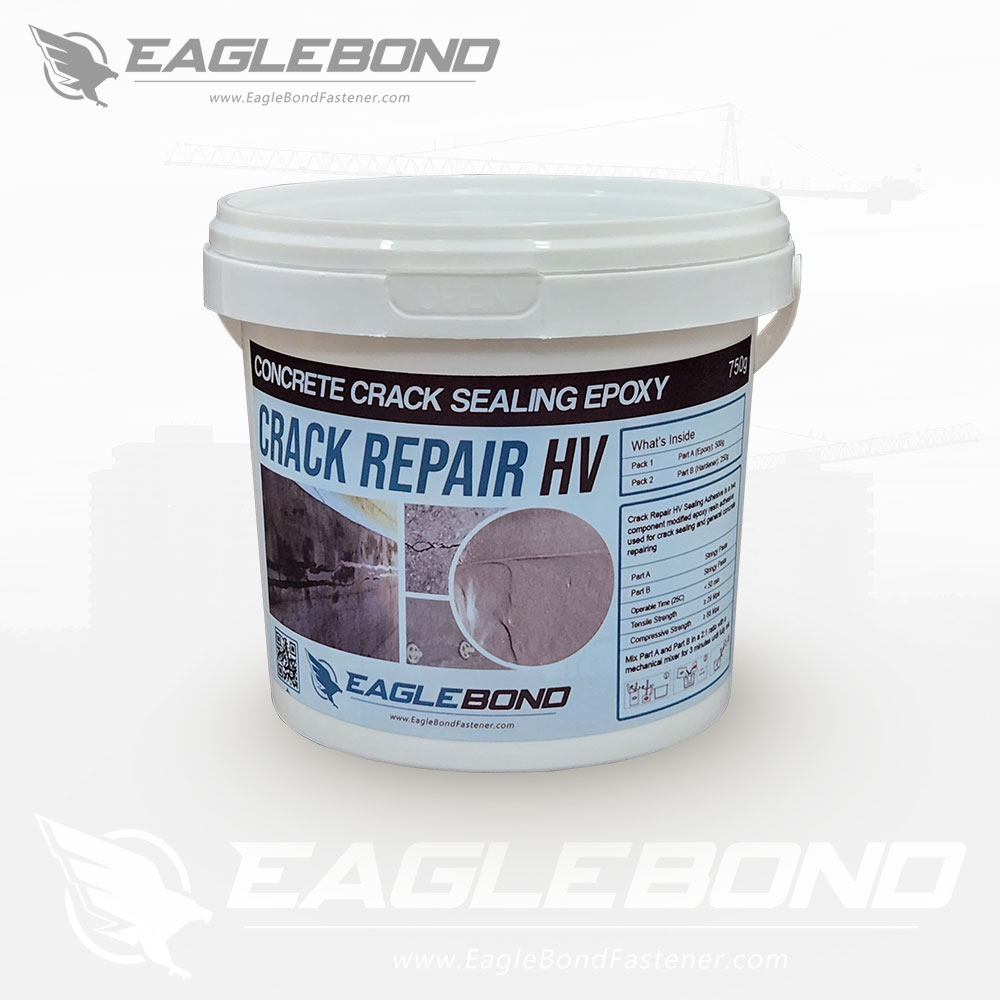
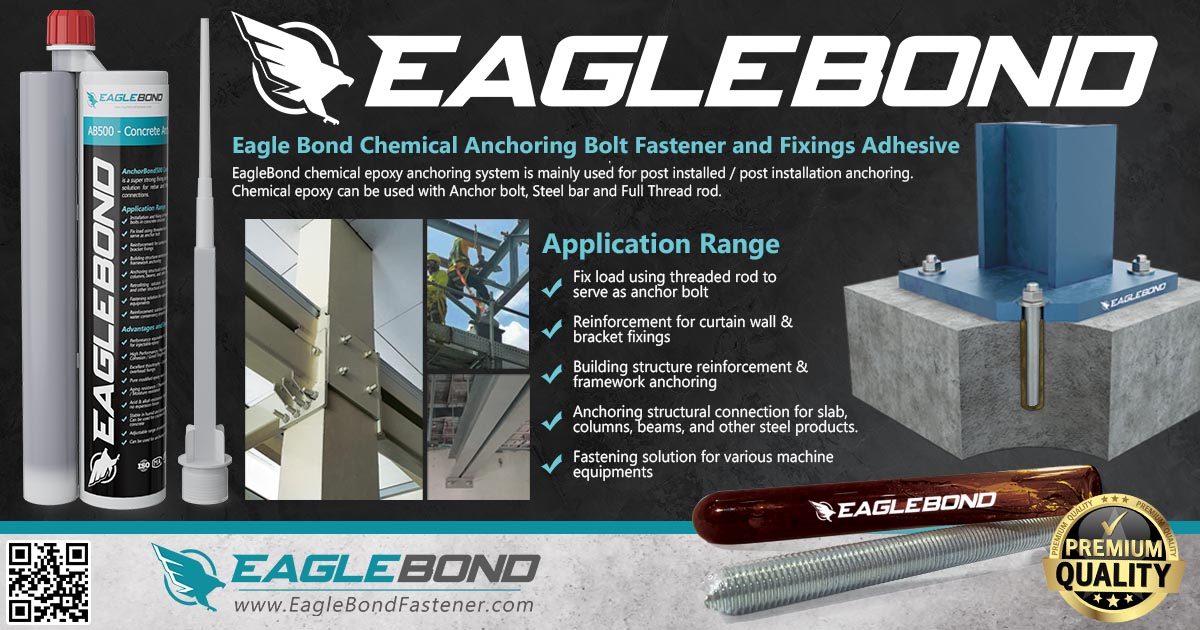
Crack Repair HV Sealing Adhesive is a two component modified epoxy resin adhesive used for crack sealing and general concrete repairing
| Part A (Epoxy) | Stringy Paste |
| Part B (Hardener) | Stringy Paste |
| Operable Time (25C) | < 50 min |
| Tensile Strength | ≥ 29 Mpa |
| Compressive Strength | ≥ 68 Mpa |
| Operable Time (25C, min) | <50 |
| Touch Dry Time (2S℃, h) | 1 - 2 |
| Mix Ratio (by Weight) | Part A: Part B=2:1 |
| Thixotropy Index | ≥ 3.0 |
| Shelf Life | 2 years in sealed packaging |
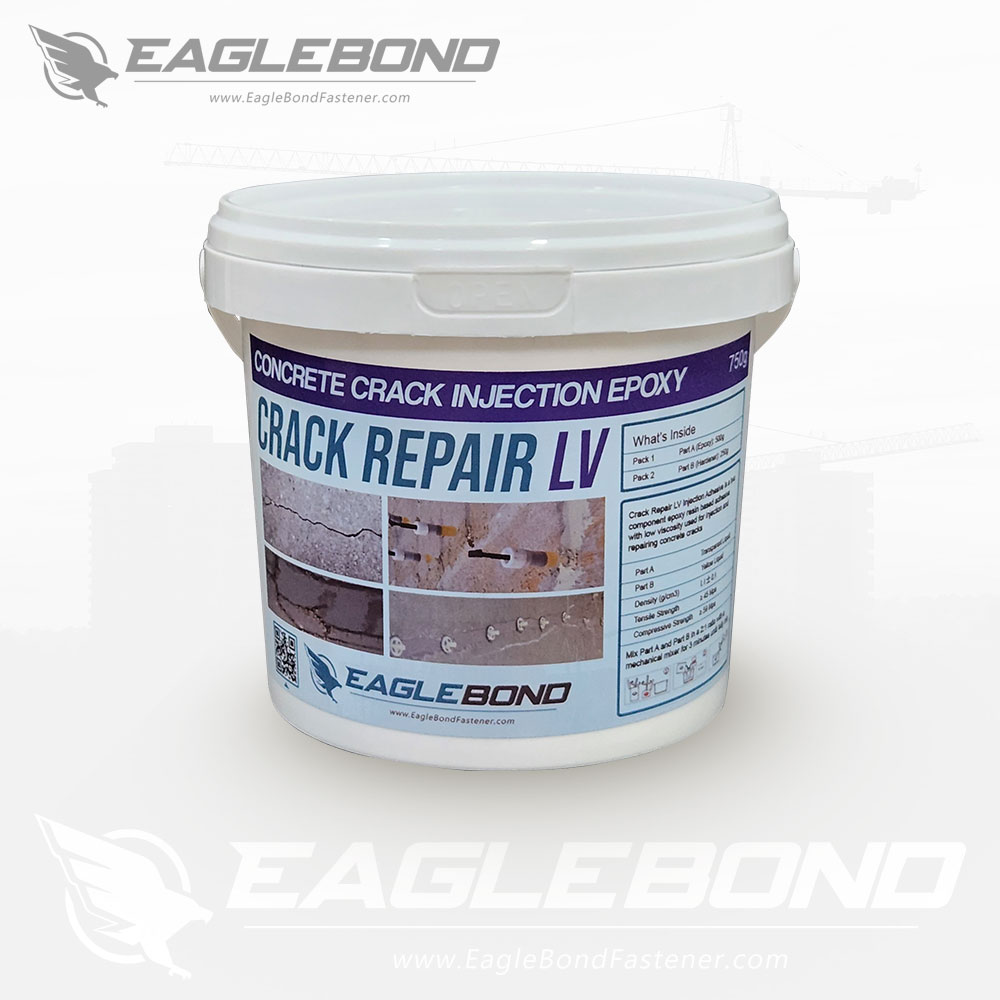
Crack Repair LV Injection Adhesive is a two component epoxy resin based adhesive with low viscosity used for injection and repairing concrete cracks
| Part A (Epoxy) | Transparent Liquid |
| Part B (Hardener) | Yellow Liquid |
| Density (g/cm3) | l. l 士 0.1 |
| Tensile Strength | ≥ 45 Mpa |
| Compressive Strength | ≥ 59 Mpa |
| Density (g/cm3 | l. l 士 0.1 |
| Mix Ratio (by Weight) | Part A: Part B=2:1 |
| Viscosity (mPa·s | ≤ 300 |
| Shelf Life | 2 years in sealed packaging |
Clean and Remove oil, grease and other surface defects and contaminants within 5 to 10cm from the crack
Grind the concrete crack around 5mm - 10mm in depth by using grinder cut off disc for better adhesion then clean again to remove debris from grinding
Place the stopper tube evenly across the space along the crack within 10cm - 30cm depending on the crack depth and width. For deeper crack, stopper tube must be closer to each other
When concrete Crack Repair HV has been cured, use air pressure to determine if there are any air leaks. reseal any leaks that can be found.
Mix Part A and Part B in a 2:1 ratio with a mechanical mixer for 3 minutes until fully mix
Inject the Crack Repair LV content using the injector into the stopper tube. injection must start from the lowest level to the highest level. Apply injector step by step when the resin content flow from one stopper tube to another. after curing for 24 hours, remove the stopper tube and grind to make the surface smooth.